Ensuring regular WordPress maintenance is essential for keeping website up-to-date. Here is more information on the same.
Key Takeaways:
- Use maintenance mode when updates or repairs may temporarily affect visitors.
- Take a complete WordPress backup before maintenance begins.
- Test major changes within a WordPress staging environment first.
- Avoid adding temporary maintenance code directly to your active theme.
- The WordPress .maintenance file controls the default maintenance state.
- A plugin offers the easiest way to create a branded WordPress maintenance page.
- A failed update may leave WordPress stuck until you remove the .maintenance file.
- Always check the website while logged out before confirming that maintenance mode is disabled.
Regular WordPress website maintenance helps keep your website secure, updated, and reliable. Many routine jobs happen without affecting visitors. These include updating content, removing spam comments, checking links, and making small plugin changes.
Larger tasks need more care.
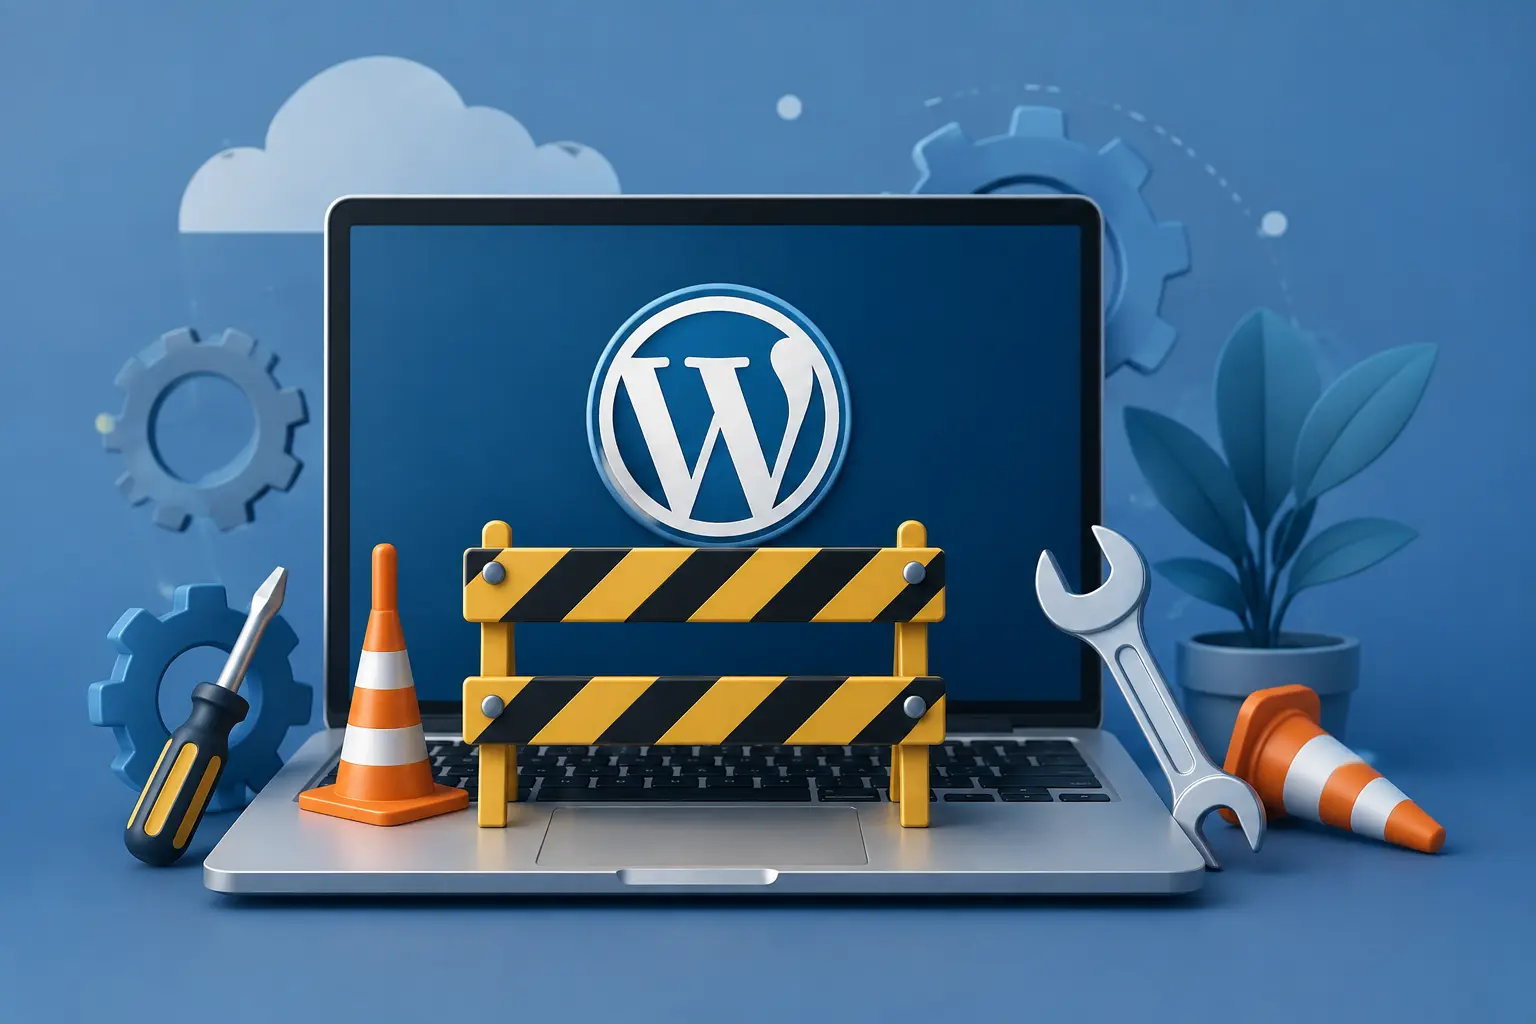
A theme redesign, server migration, major plugin update, or urgent technical fix may briefly affect how your website looks or works. WordPress maintenance mode gives you a safer way to complete this work without showing visitors broken pages or unfinished changes.
Instead, users see a temporary message explaining that the website is undergoing planned maintenance.
WordPress also activates its default maintenance state during many core, theme, and plugin updates. It creates a temporary .maintenance file and removes it once the update finishes. If an update stops unexpectedly, this file may remain and keep the website offline.
This guide explains when to use maintenance mode in WordPress, how to enable it manually or through a plugin, and how to disable it safely. It also covers backups, staging, custom maintenance pages, and the steps needed when WordPress becomes stuck in maintenance mode.
An Essential Guide on WordPress Maintenance Mode
Maintaining a WordPress website involves a range of tasks that keep it stable, secure, and easy to use.
Routine work may include:
- Updating WordPress core
- Managing plugins and themes
- Fixing broken links
- Removing spam comments
- Checking forms
- Reviewing website security
- Improving page speed
- Optimising the database
You can usually complete smaller tasks without taking the website offline. More significant changes may create temporary errors, incomplete layouts, or inconsistent data. These projects can include redesigning the website, changing important functionality, moving to a new server, or updating several connected plugins.
In these situations, maintenance mode provides a controlled experience. Visitors see a clear notice while your administrators continue working behind the scenes. Maintenance mode should only remain active for as long as necessary. For long-term care, see our Website Maintenance and Support Service. Longer development or redesign work belongs in a staging environment rather than on the live website.
When Does a WordPress Website Need Maintenance Mode?
Not every maintenance task requires downtime. Use maintenance mode when the work could disrupt an important visitor journey or expose unfinished changes.
Here are the most common situations.
Fixing Bugs
Website errors can affect forms, checkout pages, navigation, user accounts, or important content.
Enabling maintenance mode prevents visitors from running into these issues while you investigate them. They see a temporary message instead of a broken page or technical error. This gives your team room to fix the problem, test the solution, and confirm that the website works before reopening it.
A minor issue affecting one low-traffic page may not justify taking the entire website offline. Consider the scale and business impact before activating maintenance mode.
Performing Website Updates
WordPress websites need regular core, theme, and plugin updates.
Most updates finish quickly. However, updating several connected plugins can create compatibility problems. This risk becomes more serious on ecommerce, membership, booking, and business-critical websites.
Professional WordPress plugin maintenance should involve more than clicking the update button. It should include:
- A current backup
- Compatibility checks
- Testing
- Error monitoring
- A rollback plan
- Post-update validation
Maintenance mode stops users from interacting with forms, checkout pages, or account areas while important updates run.
Modifying Website Functionality
Adding new features may affect several parts of your website at once.
For example, a new booking or payment function may connect with:
- Forms
- Emails
- Customer accounts
- Payment gateways
- Analytics
- CRM systems
- Third-party APIs
Maintenance mode lets you complete the final implementation without confusing visitors with unfinished features. Test the full user journey before making the website public again.
Making Layout Changes
Large design changes may expose missing styles, broken navigation, or incomplete page sections. Maintenance mode allows you to apply final changes while presenting visitors with a professional message. It protects the visual experience and prevents users from seeing work in progress.
For a full redesign, use a staging copy first. Move the completed work to production only after testing it carefully.
When Should You Use a WordPress Staging Environment?
A WordPress staging environment is a private copy of your live website.
It allows you to test changes without affecting customers, visitors, orders, forms, or live data. This makes staging a better option for longer or riskier development work.
Use a staging environment for:
- Major WordPress updates
- Theme redesigns
- New plugin testing
- PHP version changes
- WooCommerce changes
- Database modifications
- Custom development
- New third-party integrations
- Complex bug investigation
Maintenance mode works better for shorter production tasks, including:
- Final deployment
- Brief database work
- Emergency repairs
- Server migration
- Short periods when users must not submit information
Staging reduces risk, but the staging copy must reflect the current live environment. Be especially careful with ecommerce databases because replacing live data may remove recent orders or customer activity.
What to Do Before Turning on WordPress Maintenance Mode
A few checks before maintenance can prevent a brief update from becoming a long outage.
Take a WordPress Backup Before Maintenance
Create a full WordPress backup before maintenance starts. Confirm where the backup is stored and how you would restore it. A backup offers little protection when nobody knows whether it works.
Your backup should include:
- Website files
- Database
- Themes
- Plugins
- Media library
- Configuration files
Test Important Changes on Staging
Run major updates and development work away from the live website first.
Check important functions, including:
- Contact forms
- Login
- Registration
- Search
- Checkout
- Payment processing
- Customer accounts
- Emails
- Mobile layouts
Record Current Software Versions
Note the current versions of:
- WordPress
- PHP
- Active theme
- Plugins
- Important integrations
This record will make troubleshooting easier if something goes wrong.
Choose a Low-Traffic Period
Use analytics to identify a quieter maintenance window.
Avoid scheduling work during:
- Marketing campaigns
- Product launches
- Busy shopping periods
- Important business events
- High-volume booking periods
Prepare a Rollback Plan
Decide what will happen if the update fails.
Your plan should explain:
- Who can approve a rollback
- Which backup to restore
- Which services need testing
- How stakeholders will receive updates
How to Put WordPress in Maintenance Mode Manually
The old version of this guide recommended placing temporary code inside the active theme’s functions.php file.
We no longer recommend that approach.
A typing or syntax error can break the website. A theme update may also remove the code. Instead, developers can use the built-in WordPress .maintenance file or WP-CLI.
Method 1: Use the WordPress .maintenance File
WordPress uses a hidden file called .maintenance during updates.
WordPress core creates and removes this file when it enables or disables maintenance mode.
Follow these steps:
- Open your hosting File Manager or connect through FTP or SFTP.
- Go to the WordPress root directory.
- Confirm that you can see wp-admin, wp-content, and wp-includes.
- Create a new file named .maintenance.
- Add the following code:
<?php
$upgrading = time();
- Save the file.
- Open the website in a private browser window.
- Delete the file once your work finishes.
Files beginning with a dot may remain hidden. Enable the “show hidden files” option within your hosting panel or FTP software.
WordPress reads the timestamp within the file. Its core maintenance check treats a recent timestamp as an active maintenance state.
Creating a Custom Default Maintenance Page
Experienced developers can create a file named:
maintenance.php
Place it inside:
wp-content
WordPress will load this file instead of the standard maintenance message. Its default maintenance response uses HTTP status 503 and sends a Retry-After header.
Only use this method when you feel comfortable working with PHP and server files.
Method 2: Use WP-CLI
Developers with command-line access can activate maintenance mode by running:
wp maintenance-mode activate
Check its status with:
wp maintenance-mode is-active
Deactivate it with:
wp maintenance-mode deactivate
WP-CLI officially provides commands for activating, checking, and disabling the maintenance state.
How to Put WordPress in Maintenance Mode with a Plugin
A plugin is often the easiest option for website owners who do not want to edit files or use command-line tools.
Plugins can also help you create a branded WordPress maintenance page with a logo, message, contact details, countdown, or subscription form.
The plugin previously known as WP Maintenance Mode is now called:
LightStart – Maintenance Mode, Coming Soon and Landing Page Builder
The plugin was rebranded as LightStart in November 2022 and continued receiving updates during 2026.
How to Enable Maintenance Mode with LightStart
- Log in to the WordPress dashboard.
- Go to Plugins > Add New.
- Search for LightStart.
- Install and activate the plugin.
- Open the plugin settings.
- Select or create a maintenance template.
- Add your message and branding.
- Configure access exclusions where needed.
- Add optional modules, such as social links or a countdown.
- Preview the page in a private browser window.
- Activate maintenance mode.
Dashboard labels can change between plugin releases. Follow the current onboarding and settings displayed within your installation.
LightStart supports custom text, backgrounds, subscription forms, countdowns, and multisite installations. It also advises users to clear caching after changing the maintenance page.
What Is the Best WordPress Maintenance Mode Plugin?
The best WordPress maintenance mode plugin depends on how much control you need.
LightStart
LightStart suits users who need templates, branding, forms, countdowns, and coming soon functionality.
Maintenance
The Maintenance plugin provides custom maintenance and coming soon pages. It is one of the most widely installed options within the WordPress plugin directory.
SeedProd
SeedProd includes maintenance and coming soon pages as part of its wider landing-page and website-building features.
Slim Maintenance Mode
Slim Maintenance Mode offers a simpler approach. You activate the plugin, complete the work, and deactivate it afterwards. It sends an HTTP 503 response and supports several popular caching plugins.
Before selecting a plugin, check:
- Latest update date
- WordPress compatibility
- Active support
- Cache compatibility
- Access exclusions
- HTTP response behaviour
- Data collection
- Design controls
- Ease of removal
Install only one maintenance-mode plugin at a time.
What Should a WordPress Maintenance Page Include?
A good maintenance screen should reassure users and explain what happens next.
Include the following:
A Clear Message
Tell visitors that the website is temporarily unavailable because of planned maintenance.
Avoid technical error codes or internal details.
Expected Availability
Give an estimated return time when possible.
Use a general time range if you cannot guarantee an exact deadline.
Contact Details
Give visitors another way to reach your business.
This could include:
- Support email
- Telephone number
- Service status page
- Customer portal
- Social media account
Your Branding
Add your logo, brand colours, and usual tone of voice.
The maintenance page should still feel trustworthy and connected to your organisation.
Mobile and Accessibility Support
Check that the page works on different screen sizes.
Use readable text, clear contrast, simple wording, and descriptive links.
The Correct Temporary Response
A temporary maintenance page should normally return HTTP 503 rather than a standard 200 response.
WordPress core uses 503 and sends a Retry-After header with its default message.
Disabling WordPress Maintenance Mode
After finishing your updates, disable maintenance mode promptly.
The process depends on how you enabled it.
If You Used the .maintenance File
- Open the WordPress root directory.
- Show hidden files.
- Delete .maintenance.
- Clear all website caches.
- Test the site in a private browser.
If You Used WP-CLI
Run:
wp maintenance-mode deactivate
You can then confirm the status:
wp maintenance-mode is-active
If You Used a Plugin
- Log in to the WordPress dashboard.
- Open the plugin settings.
- Change the maintenance status to deactivated.
- Save the changes.
- Clear plugin, server, and CDN caches.
- Check the website while logged out.
Do not test only while logged in. Many maintenance plugins allow administrators to see the live website while visitors still see the temporary page.
How to Fix WordPress Stuck in Maintenance Mode
An interrupted update can leave visitors seeing:
Briefly unavailable for scheduled maintenance. Check back in a minute.
This usually happens because WordPress did not remove the .maintenance file.
Step 1: Wait Briefly
Give the update a few minutes to finish.
Avoid interrupting it immediately because WordPress may still be replacing files.
Step 2: Access the Root Directory
Connect through your hosting File Manager, FTP, or SFTP.
Open the directory containing:
- wp-admin
- wp-content
- wp-includes
Step 3: Show Hidden Files
Enable hidden-file visibility because.maintenance begins with a full stop.
Step 4: Delete .maintenance
Remove the file from the WordPress root directory.
Step 5: Clear Every Cache
Clear:
- WordPress cache
- Hosting cache
- CDN cache
- Browser cache
A cached page may remain visible after the maintenance file has gone.
Step 6: Check the Interrupted Update
Log in to the WordPress dashboard and review the update status.
Confirm whether the WordPress core, theme, or plugin update completed.
Step 7: Test the Website
Check:
- Homepage
- Navigation
- Forms
- Login
- Checkout
- Customer accounts
- Mobile layout
Step 8: Review Errors
If the problem returns, review:
- PHP error logs
- Server timeouts
- Memory limits
- File permissions
- Plugin conflicts
Step 9: Restore Your Backup
Restore the pre-maintenance backup if important parts of the website remain broken.
Take extra care before restoring the database of an active ecommerce or membership website.
Turning on WordPress Maintenance Mode: Best Practices
Informing visitors about planned work is an important part of WordPress website maintenance. Maintenance mode is a temporary safety measure. It does not replace ongoing updates, security checks, backups, and monitoring.
The right method depends on:
- The size of the update
- Expected downtime
- Your technical experience
- Whether you need a branded page
- Whether users need alternative contact details
- Whether parts of the website should remain available
Follow these practical rules:
- Use maintenance mode only when visitors could encounter disruption.
- Keep the downtime as short as possible.
- Take a backup before making important changes.
- Use staging for major development work.
- Test the maintenance page before starting.
- Check the website while logged out.
- Verify forms, checkout, and integrations after reopening.
- Document the work you completed.
- Clear every cache after disabling the page.
Why Regular WordPress Website Maintenance Matters
Planned WordPress website maintenance reduces the risk of unexpected downtime. Regular checks help you catch smaller problems before they become serious outages.
A reliable maintenance programme may include:
- WordPress core updates
- WordPress plugin maintenance
- Theme updates
- Backups
- Security monitoring
- Malware scanning
- Performance checks
- Broken-link reviews
- Form testing
- Database optimisation
- Uptime monitoring
- PHP compatibility checks
- Browser and mobile testing
- Emergency technical support
Conclusion
Understanding WordPress maintenance mode helps you carry out important work without exposing visitors to broken pages or incomplete updates.
Use it for short, planned periods when the live website may become unstable. For larger changes, test everything within a WordPress staging environment before touching production.
Take a full backup first. Choose the safest activation method for your experience level. A plugin works well for most website owners, while developers may prefer the .maintenance file or WP-CLI.
If WordPress becomes stuck after an update, check for the hidden .maintenance file and clear every cache layer.
Most importantly, reopen the website only after testing its key functions.
Good maintenance mode management protects the visitor experience. Regular updates, backups, monitoring, and professional support protect the website over the long term.